


A printer frame is the structure that holds all of the guts in the right places. The dimensions of the frame are often upper limits on things like bed size and Z-height and the rigidity and squareness of the frame directly impact the speed and accuracy of prints. Aluminum extrusion is the most common build material for medium and larger printers however acrylics, fiberboard, steel, wood and other materials can be used for specific applications. The Big Plans printer system calls for a 2020-based cube frame although 2040 can also be used with some caveats. The most basic 2020 cube frame uses twelve extrusions with three sets of four that share the same length (eg: 4x500mm, 4x450mm, 4x400mm = 12).
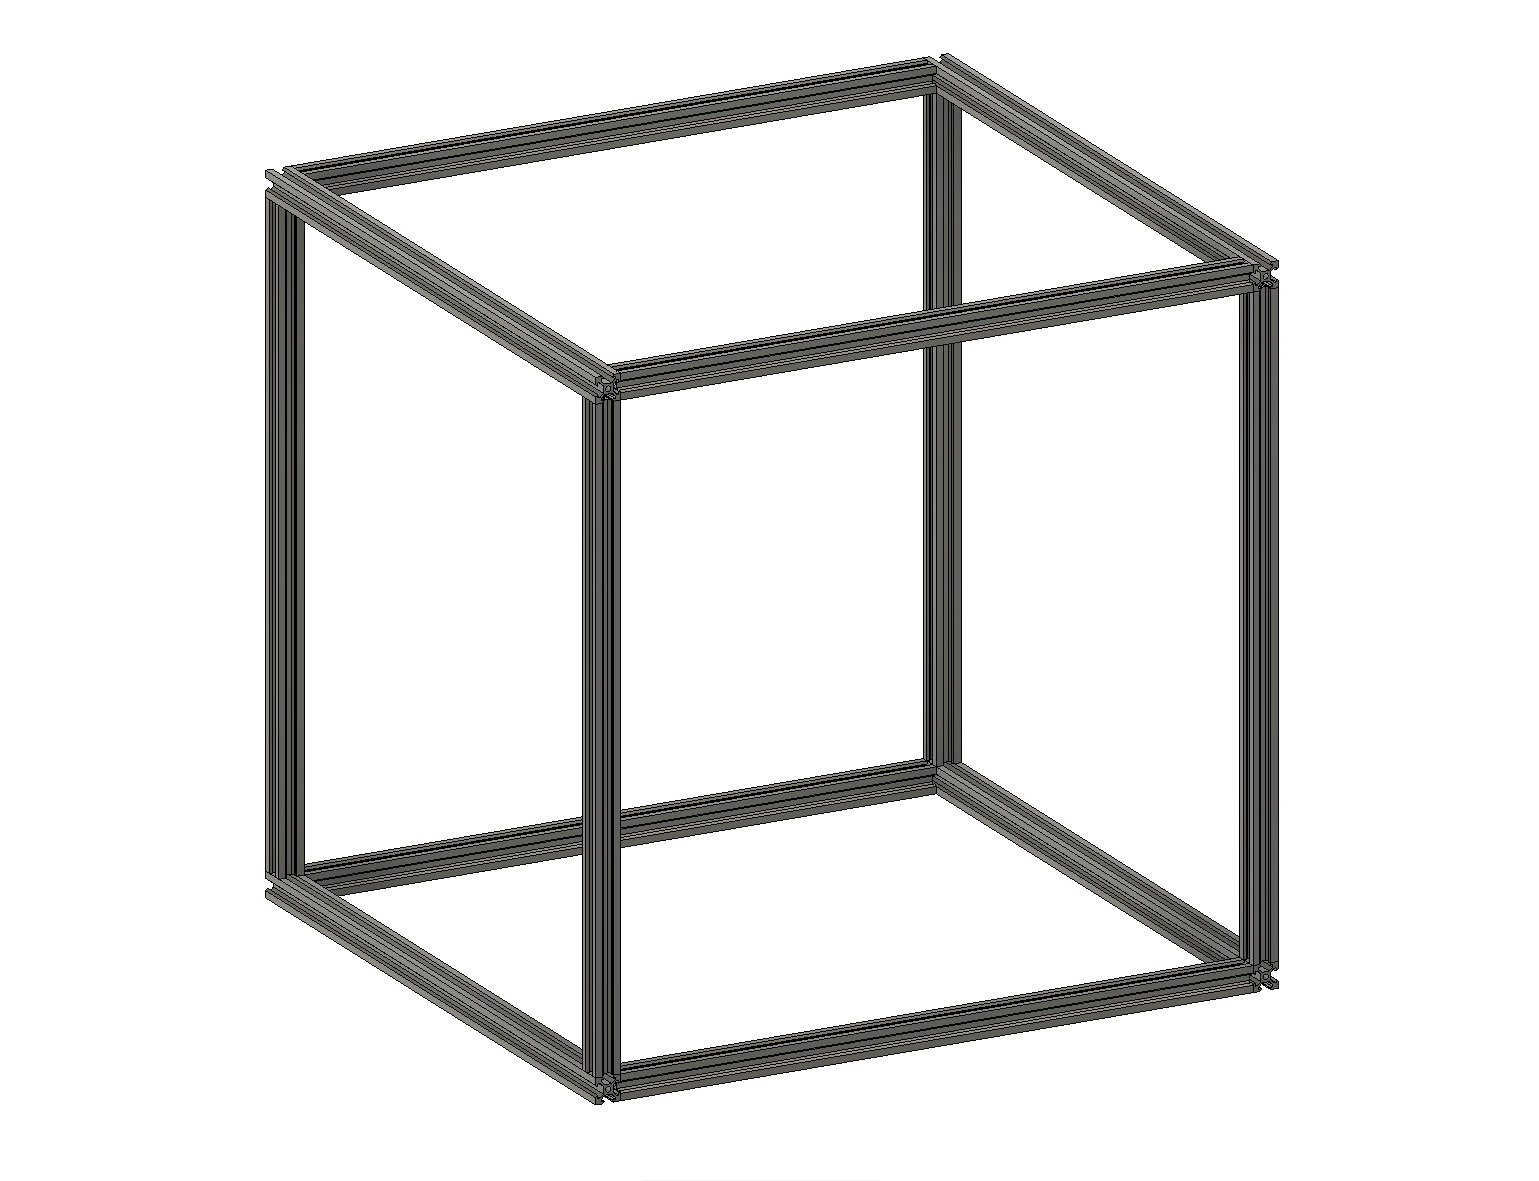
The length of the extrusions determine the maximum build volume of the printer. All of the gantry hardware fits within the frame so when you're planning your printer size assume you will lose ~180mm in the X and Y direction and ~200mm in the Z direction from the interior of the frame - although the exact spacing may vary depending on the hardware you use.
One of the hardest pieces to source is the build plate - which also determines you X/Y build volume - so you will likely start with the plate and plan everything else from there. While you can get custom milled aluminum plates in any dimension the easiest and cheapest option is to utilize a plate from another printer of similar size. There are a lot of options for build plates. Personally, I use the thin aluminum sheets that come with most printers and then lay a silicon heater, glass sheet, and PEI or spring steel on top of that. Other folks prefer to print directly to a bulky aluminum plate. As long as your build surface can mount to 2020 extrusions it should work with this system.
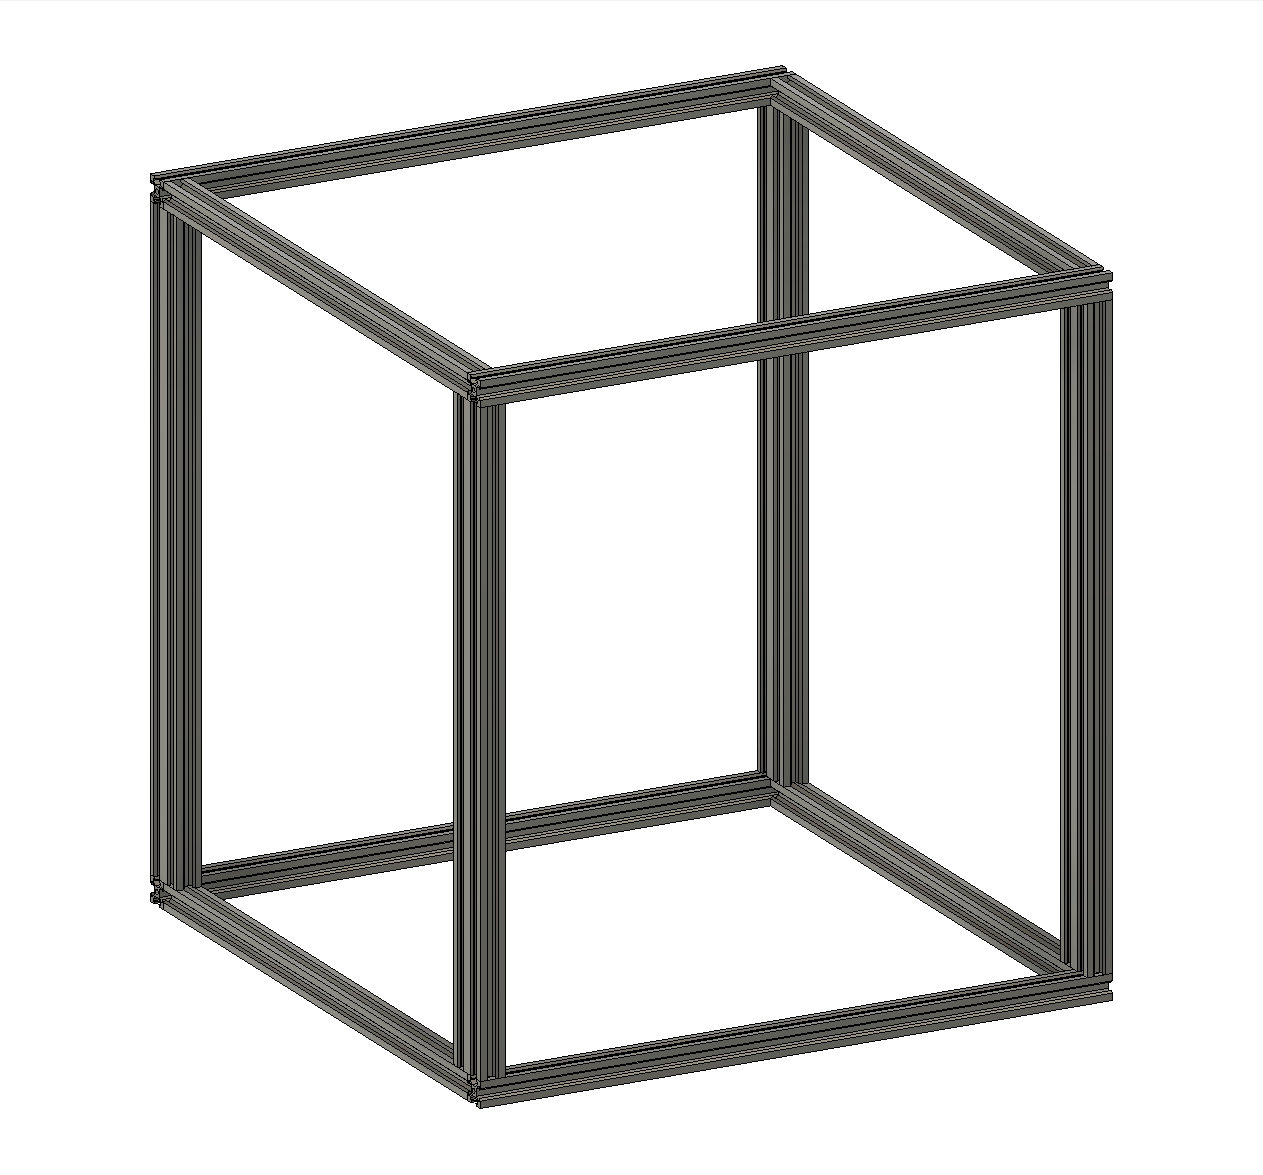
In addition to the basic 2020 cube this system should also support a number of structurally enhanced cubes. A common upgrade is to use 2040 extrusions for the base (Folgertech FT-5) or on the verticals (eg: TronXY X5SA, Ender 5). These setups should all work fine although you may have to adjust some iteme to fit your specific design.
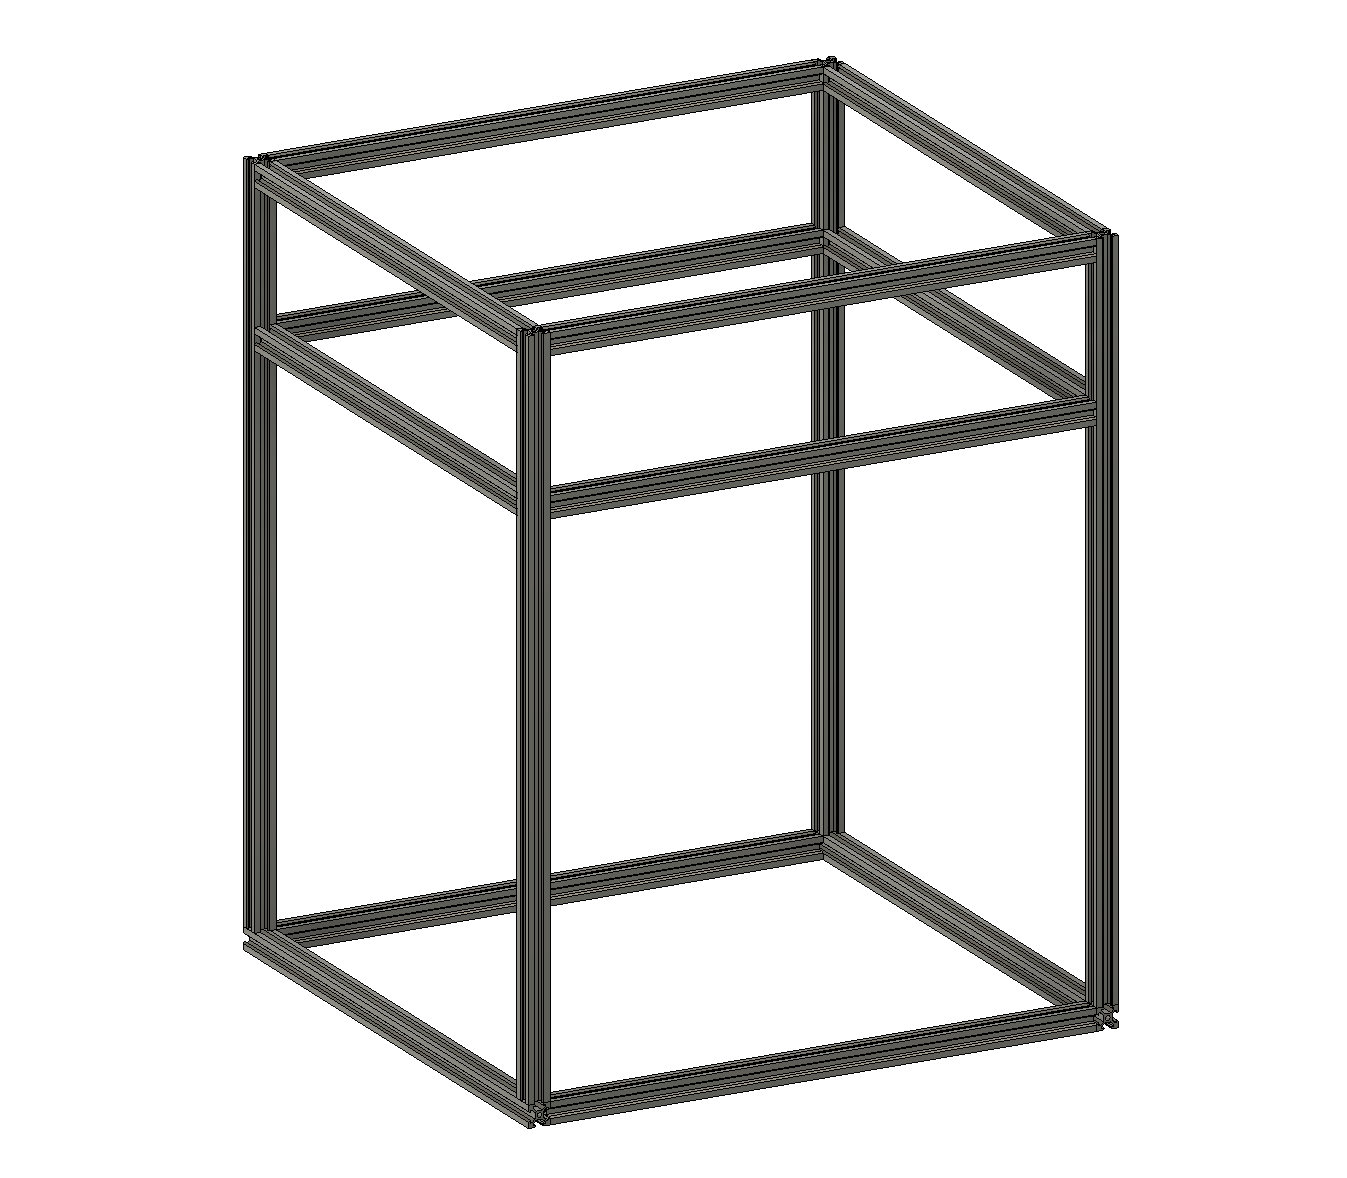
Some printers use a 'ladder' style design for their side panels (eg: Folgertech FT-5). I really like this design as the extra offset extrusions add a lot of rigidity - seemingly more than just upgrading some to 2040 - and the additional Z space on top can be used to hold cameras, tools, pulley looms, etc. The printer system allows for passing-through extrusions on the motor and pulley blocks and works fine with this design.
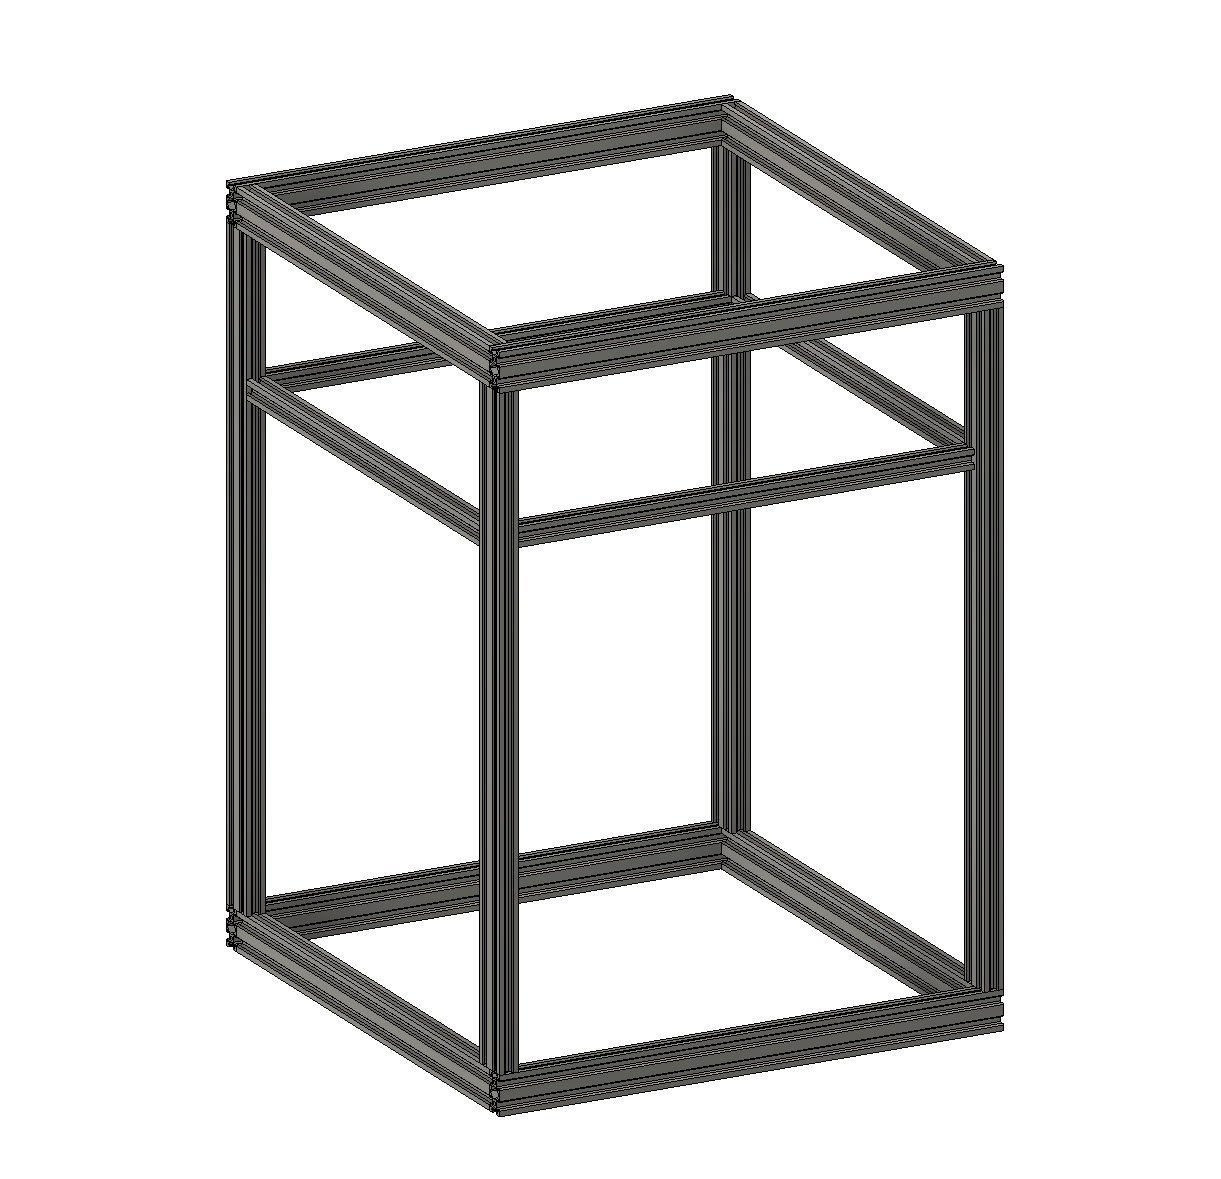
And if you really wanted to get solid, you can combine a 2040 outer frame with 2020 ladder rungs and you'll have a bomb-proof setup.
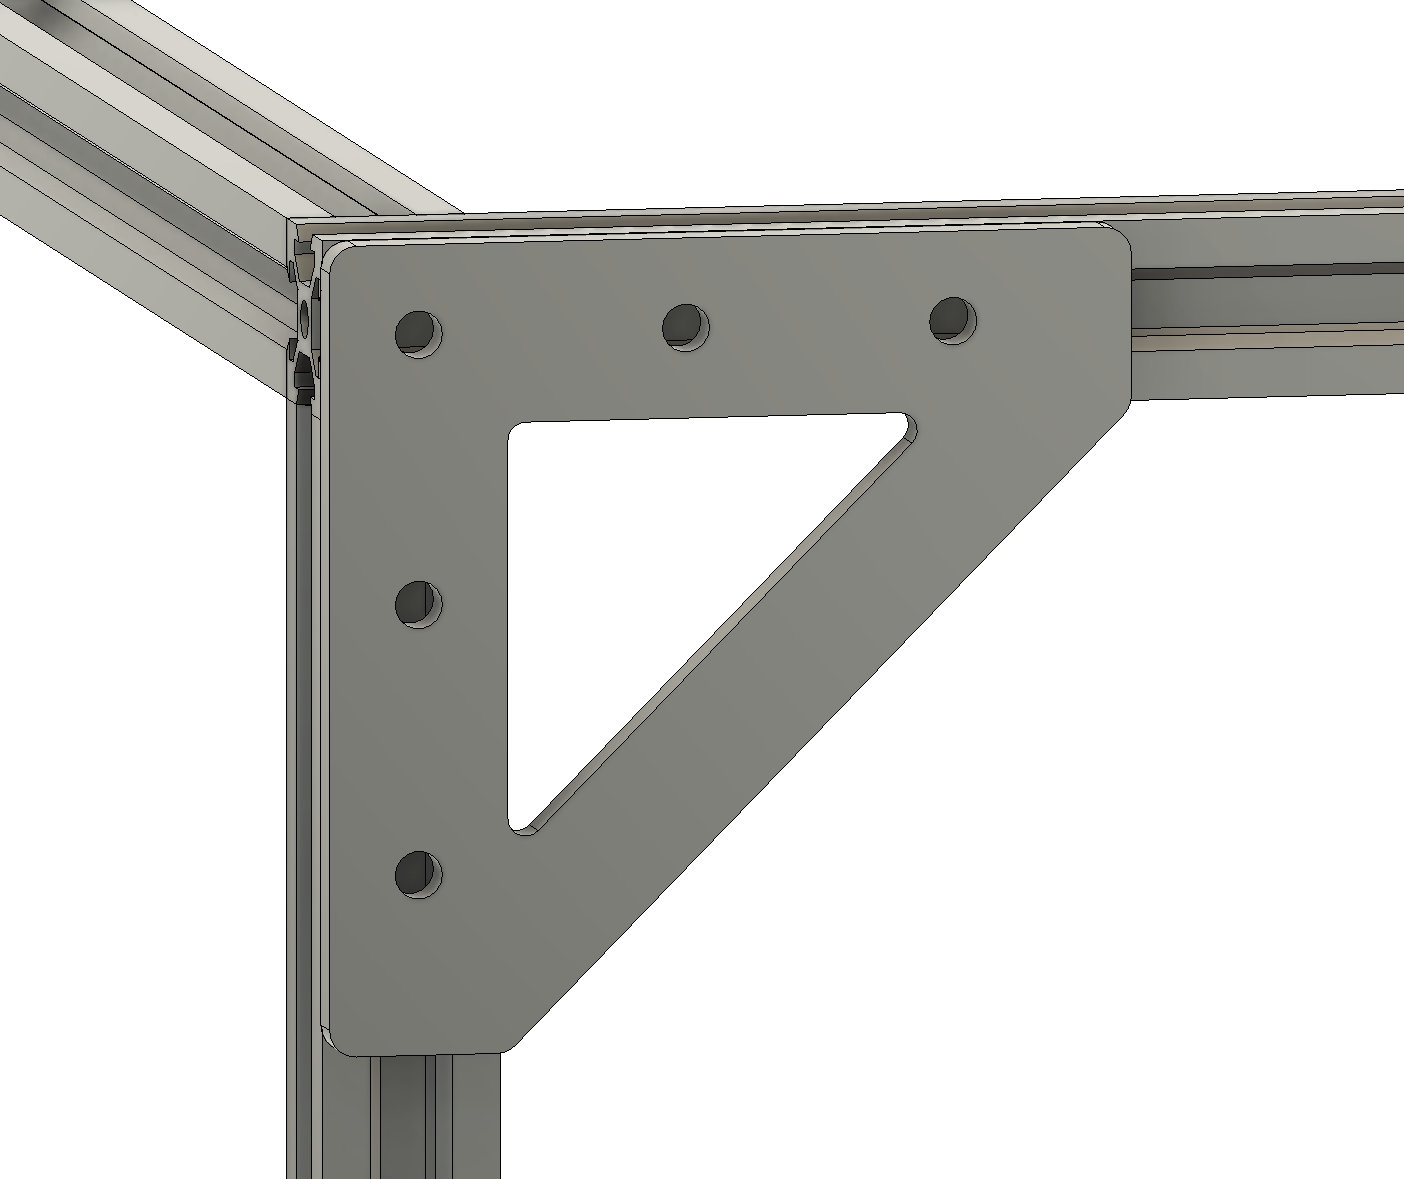
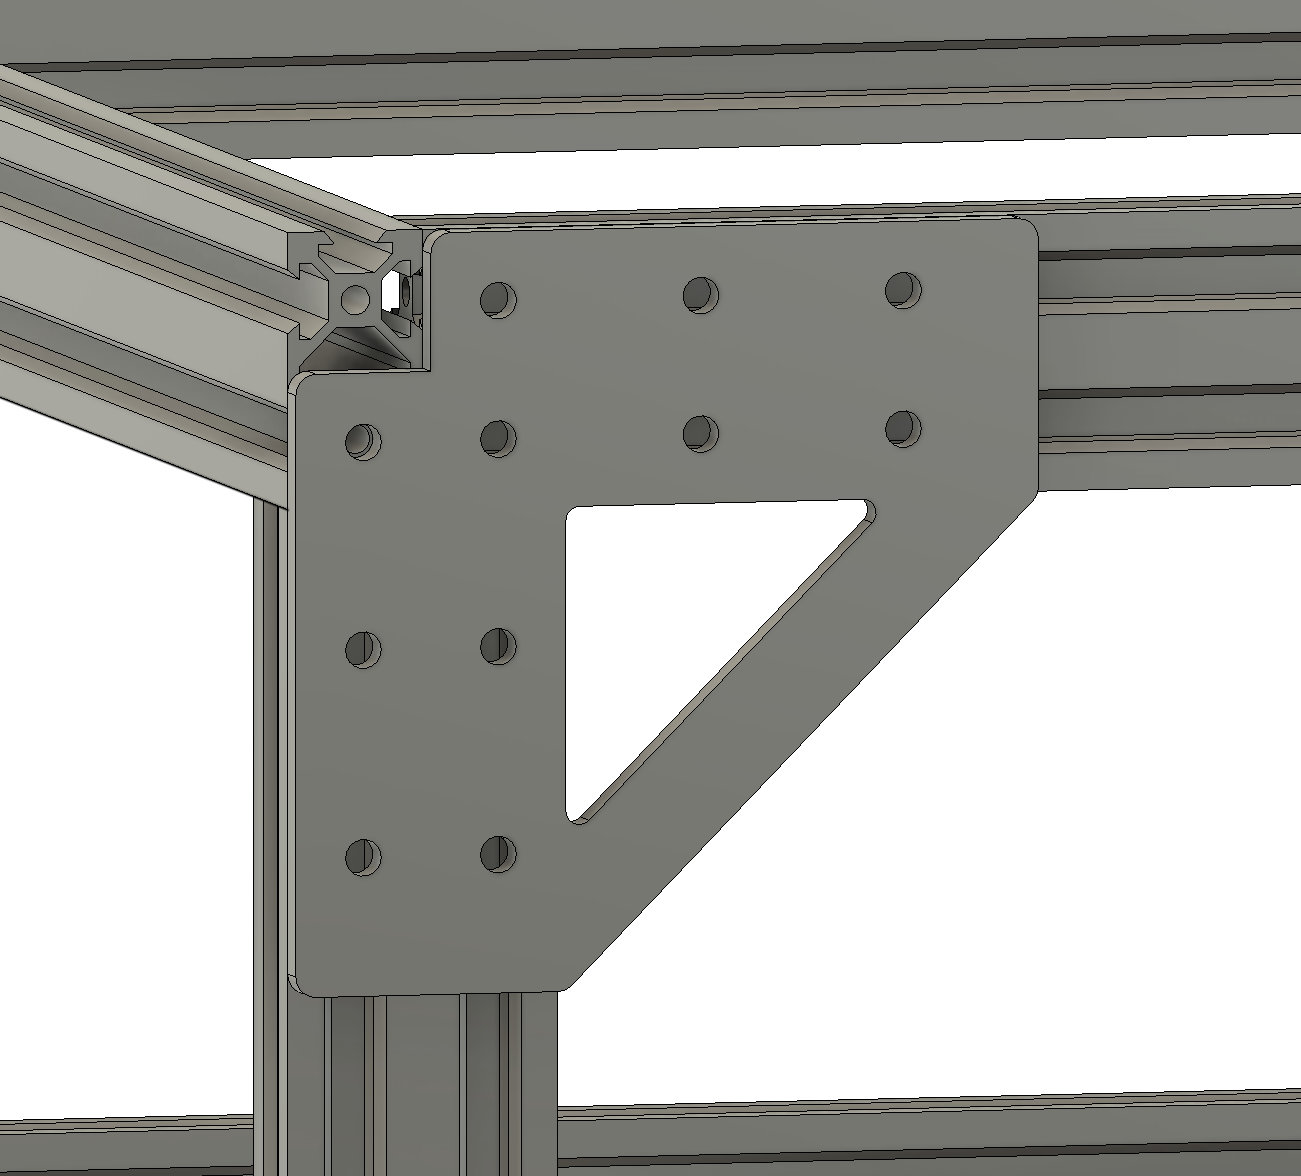
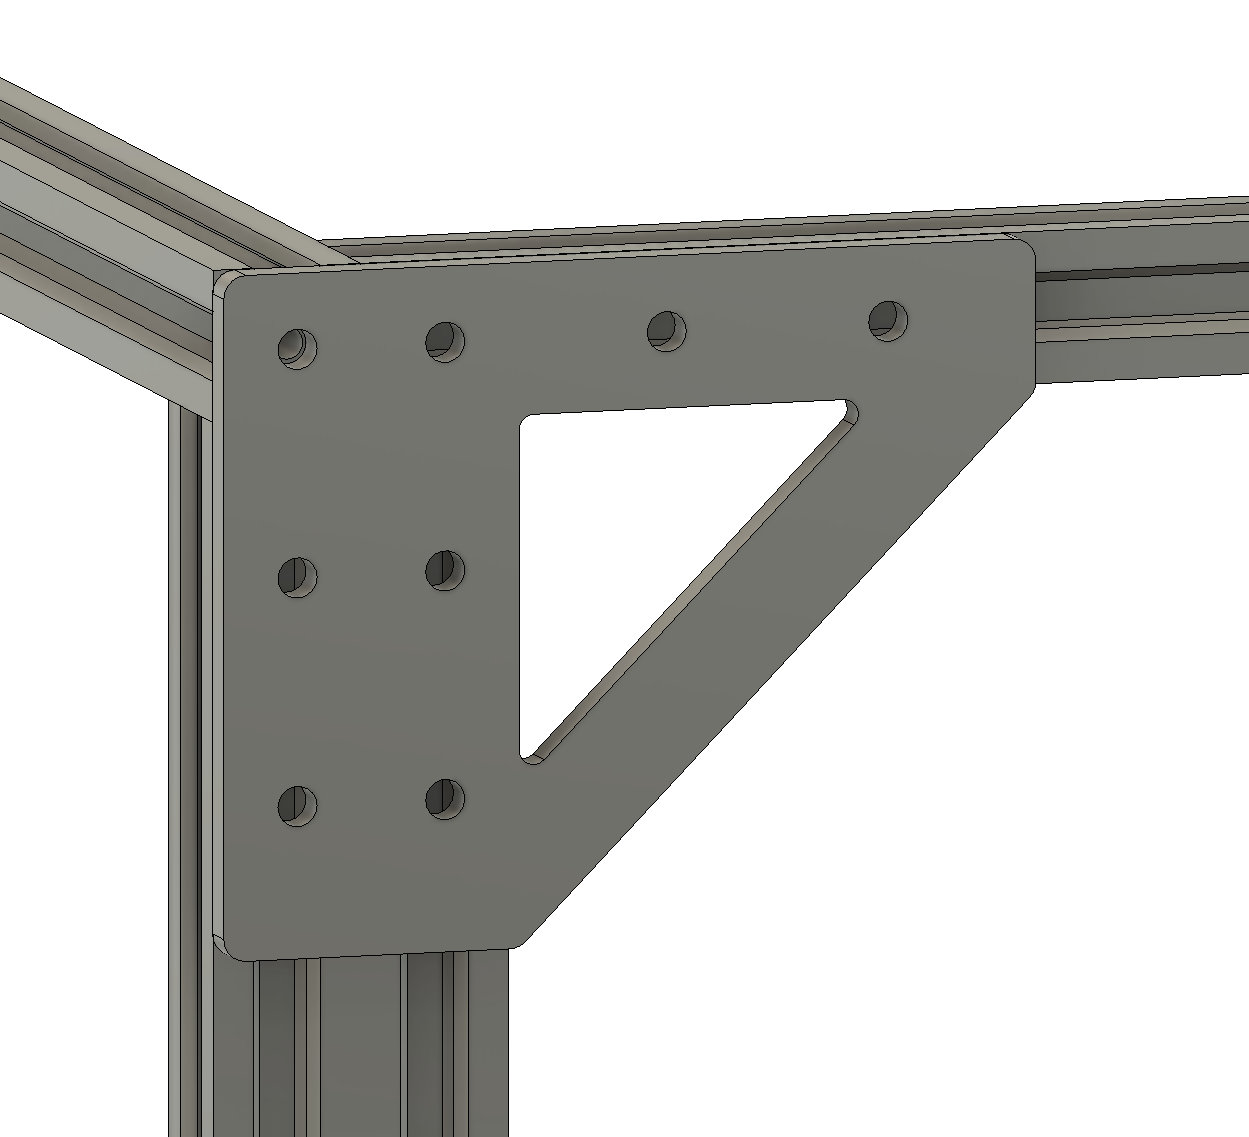
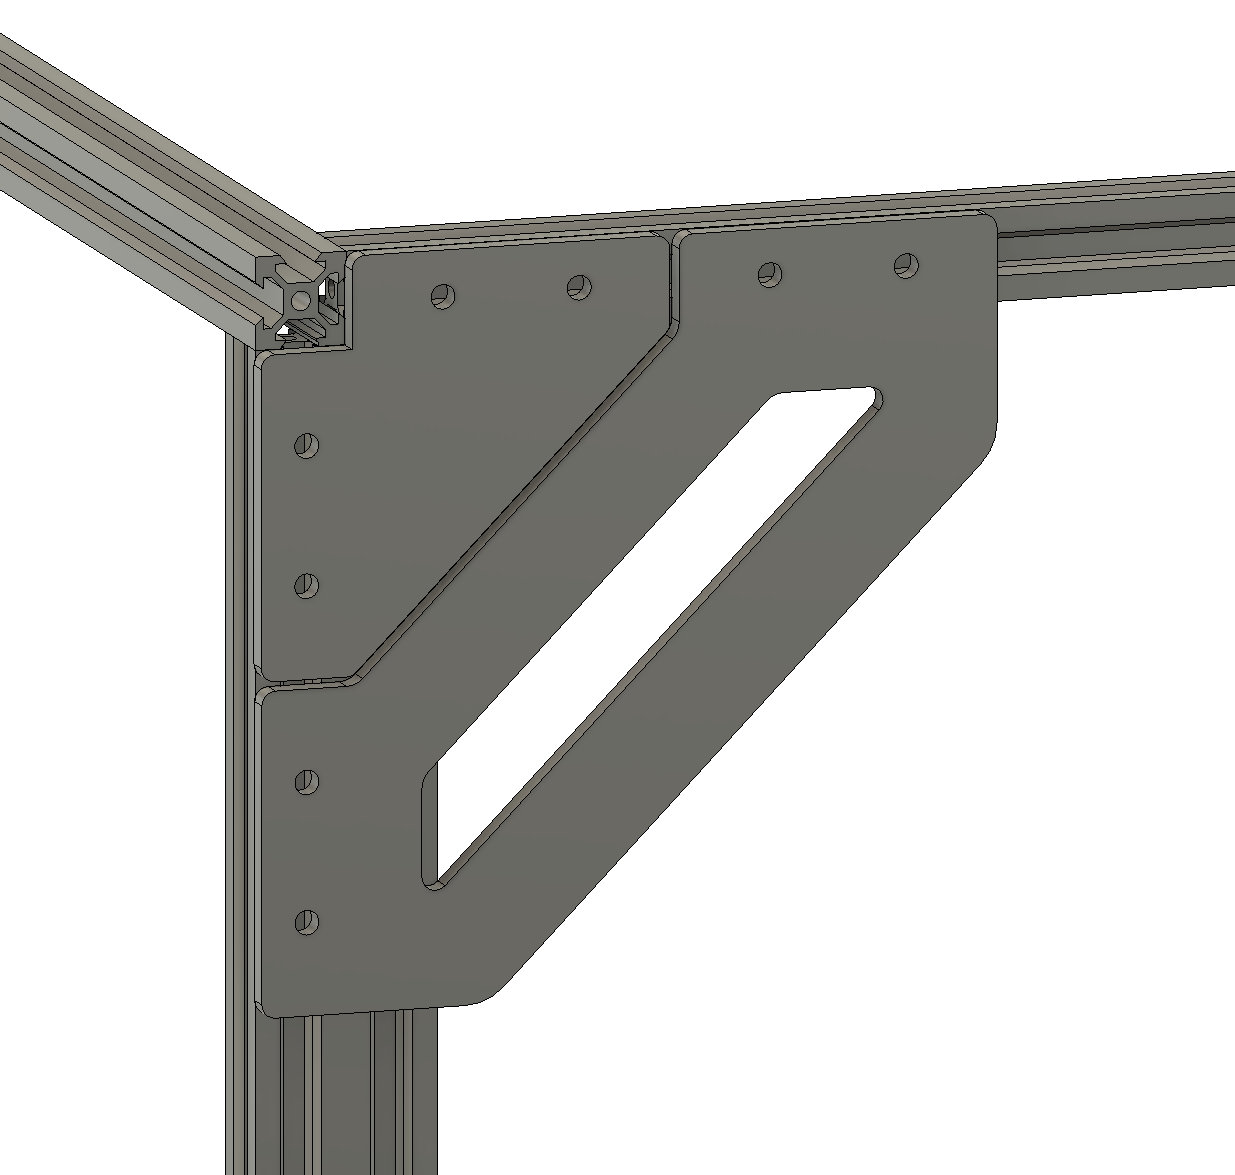
There are a variety of ways to join 2020 and 2040 extrusuions to make corners. Printer kits commonly use end-tapped 2020 extrusions and holes drilled through extrusions to hold frames together. I'm not a huge fan of this approach as drilling is permanent and aluminum threads aren't super strong long-term. If we avoid tapping and drilling the next most common attachment method seem to be 2020 and 2040 interior corners followed by L plates. My personal preference is to use both aluminum 2040 interior corners (yes, on the 2020-to-2020 joints) as well as L-plates. The L-plates are handy for alignment and the aluminum corners really lock the joint in. You can get L and T plates in aluminum and steel however that may be overkill if you're also using interior corners. I have a selection of plates you can print:
Basic 2020 Corner Plate:
Basic 2040 Corner Plate:
2020 to 2040 Corner:
And an extended corner for when you need exta support or alignment:
One of the most important and difficult parts of assembling a 3D printer is ensuring the frame is square and sturdy. While corners and plates may ensure your frame is 'generally' square you definitely want to use a carpenter's square or multiple diagonal measurements across the frame panels to ensure the frame is perfectly square.
2020 Frame Corners and Risers