


There are a lot of options for 3D printer electronics - too many to enumerate and support. For the most part, any electronics enclosures that mount to 2020 extrusions should work on with this printer system however the system includes a number of mounts and cases for the most common solutions.
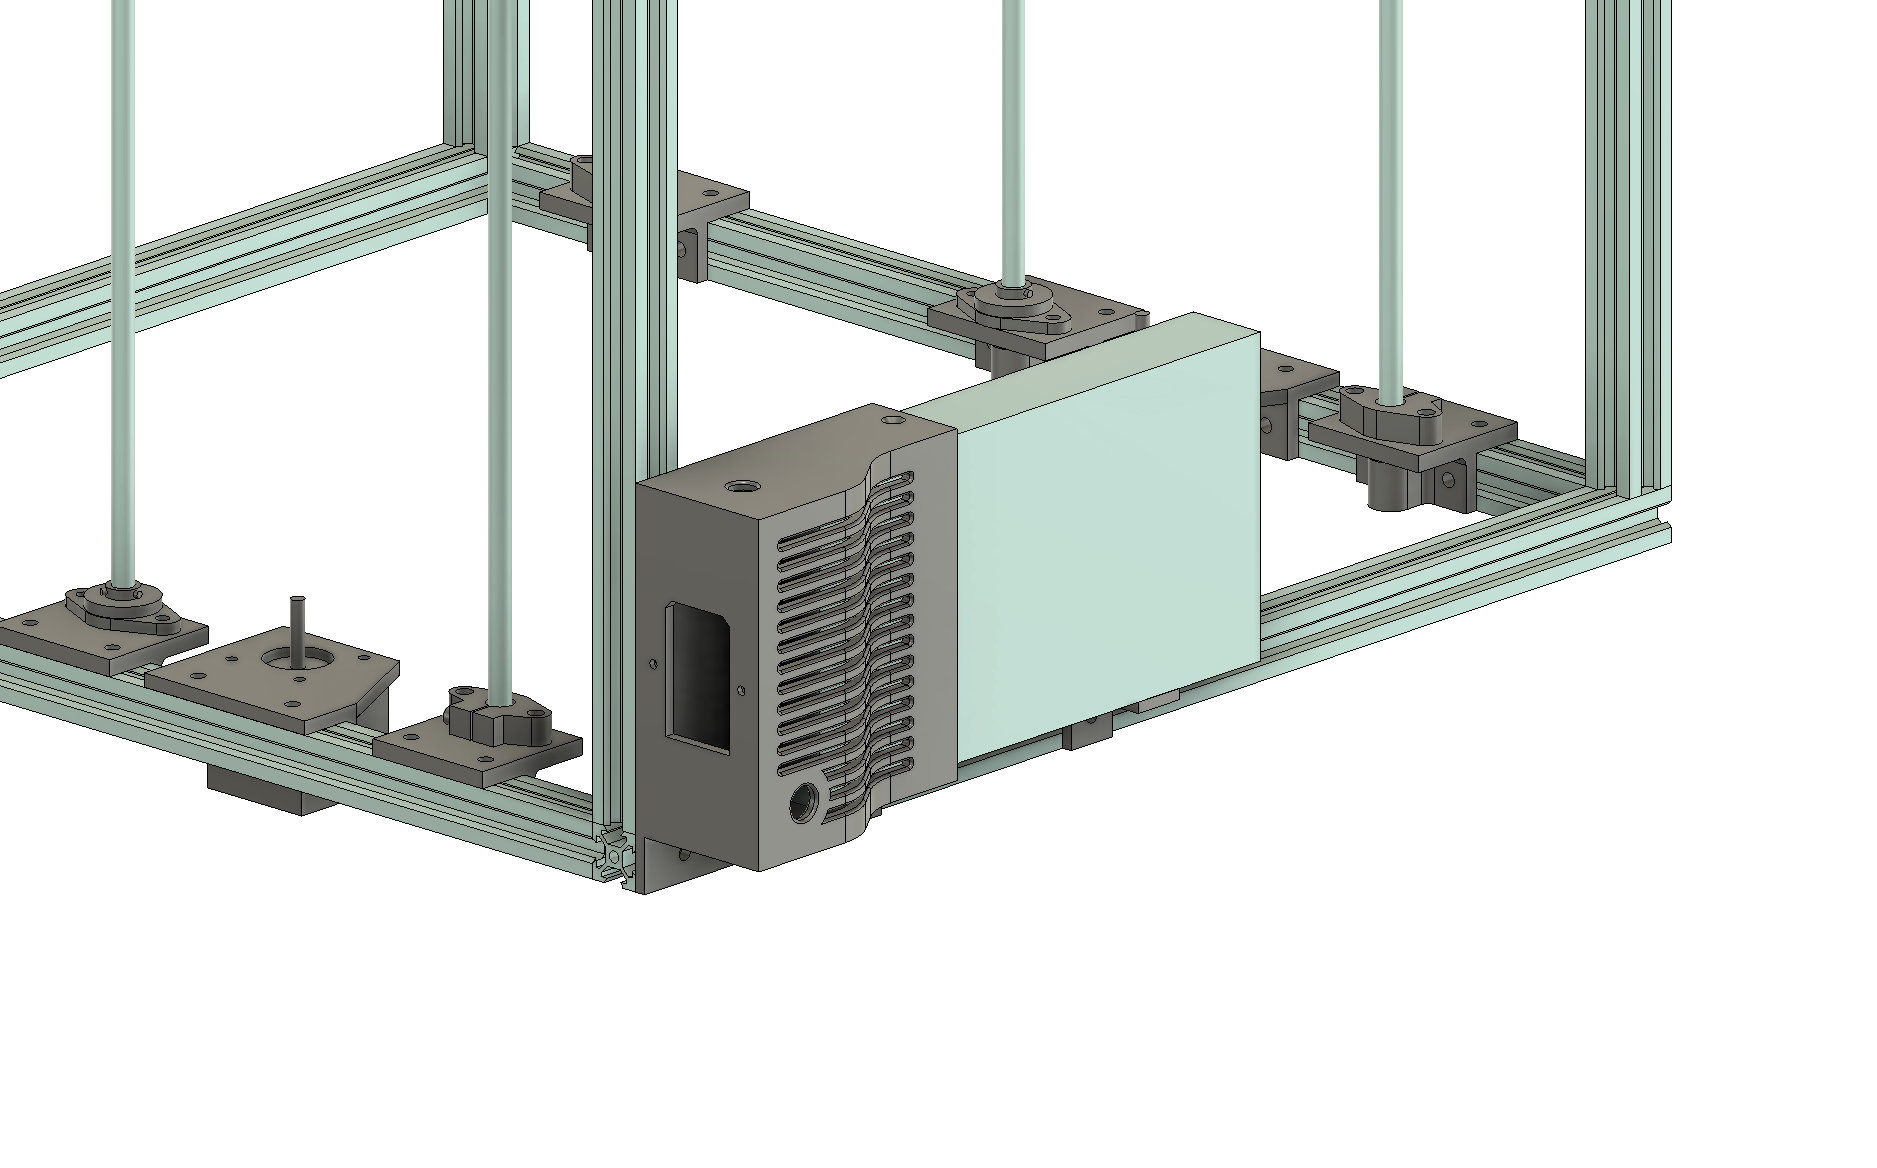
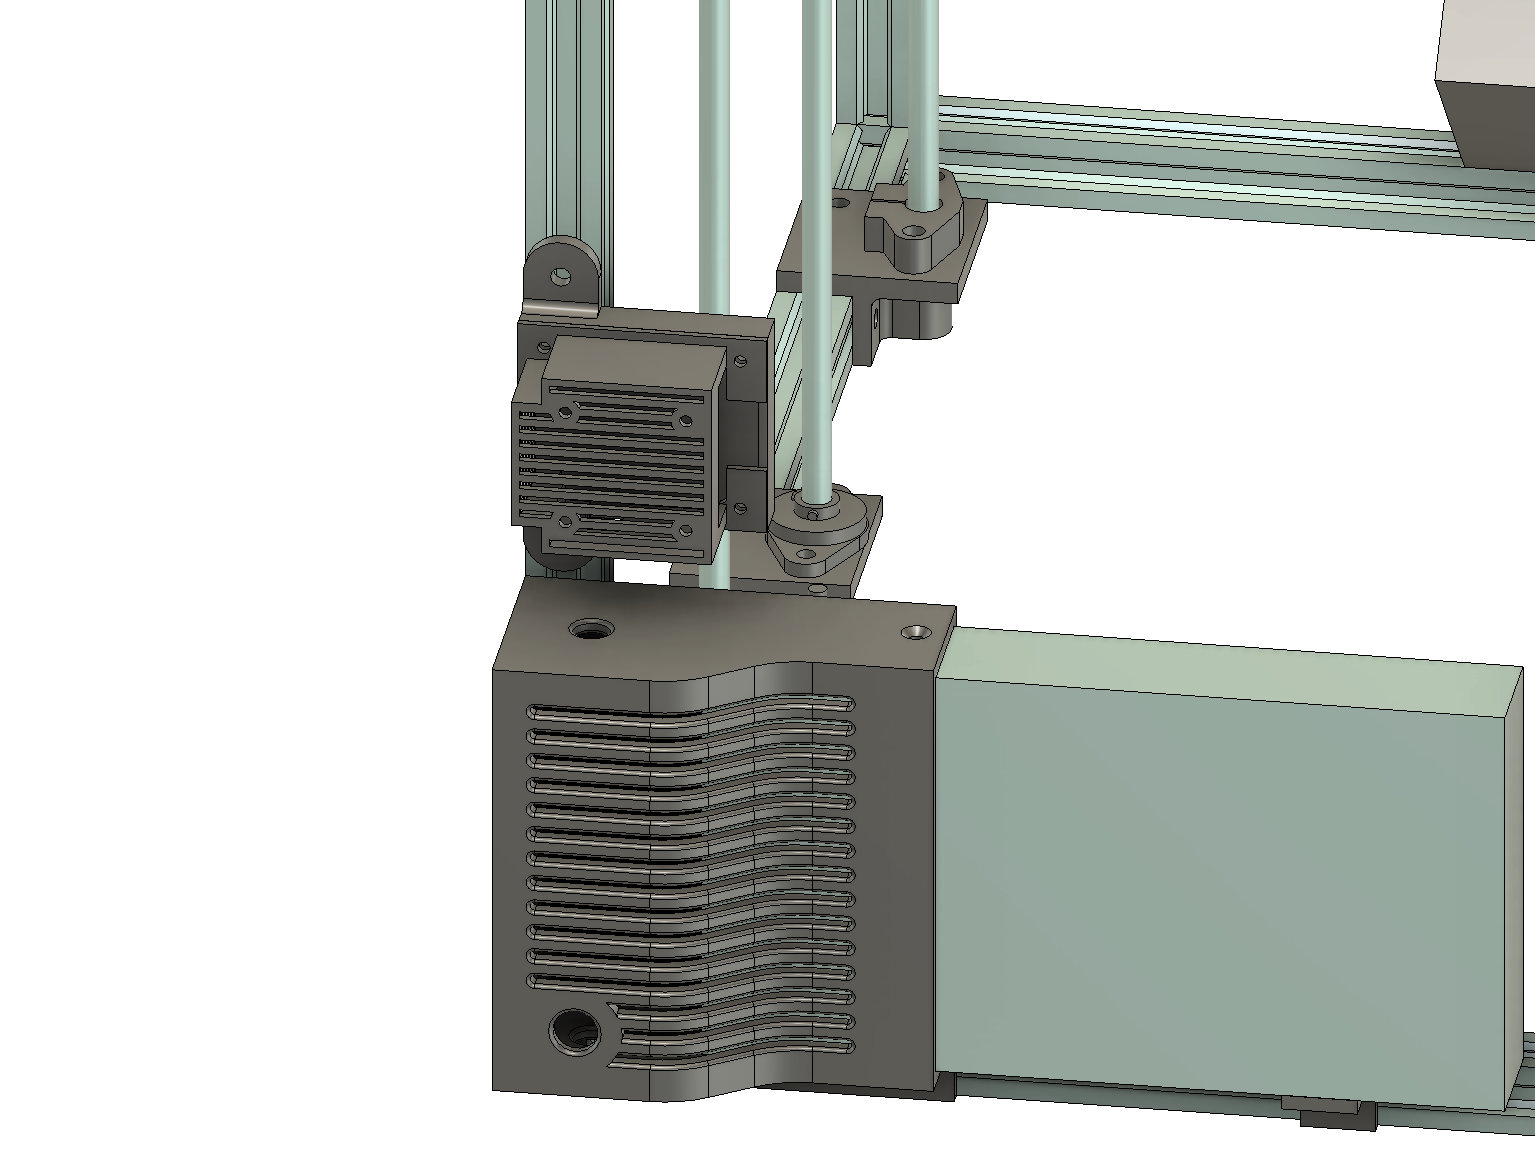
All printers need some form of PSU for the main board. I have encountered a number of different physical PSU sizes however there are two common profiles for 12v and 24v PSUs - a standard profile that is about 50mm wide and a slim profile that is about 30mm wide. All of the generic and Meanwell PSUs that I've purchased have confirmed to one of those two profiles. The shroud compatibility is only based on the rear dimensions of the PSU and a small bracket is used to support the rest of the PSU body. The shroud supports the commonly used ATX-style plug/switch/fuse plate.
When mounting the PSU, keep in mind the extrusions used for the bed platform. If your extrusions extend past the edges of the frame you will want to mount the PSU such that it will not interfere with the extrusions during full moves.
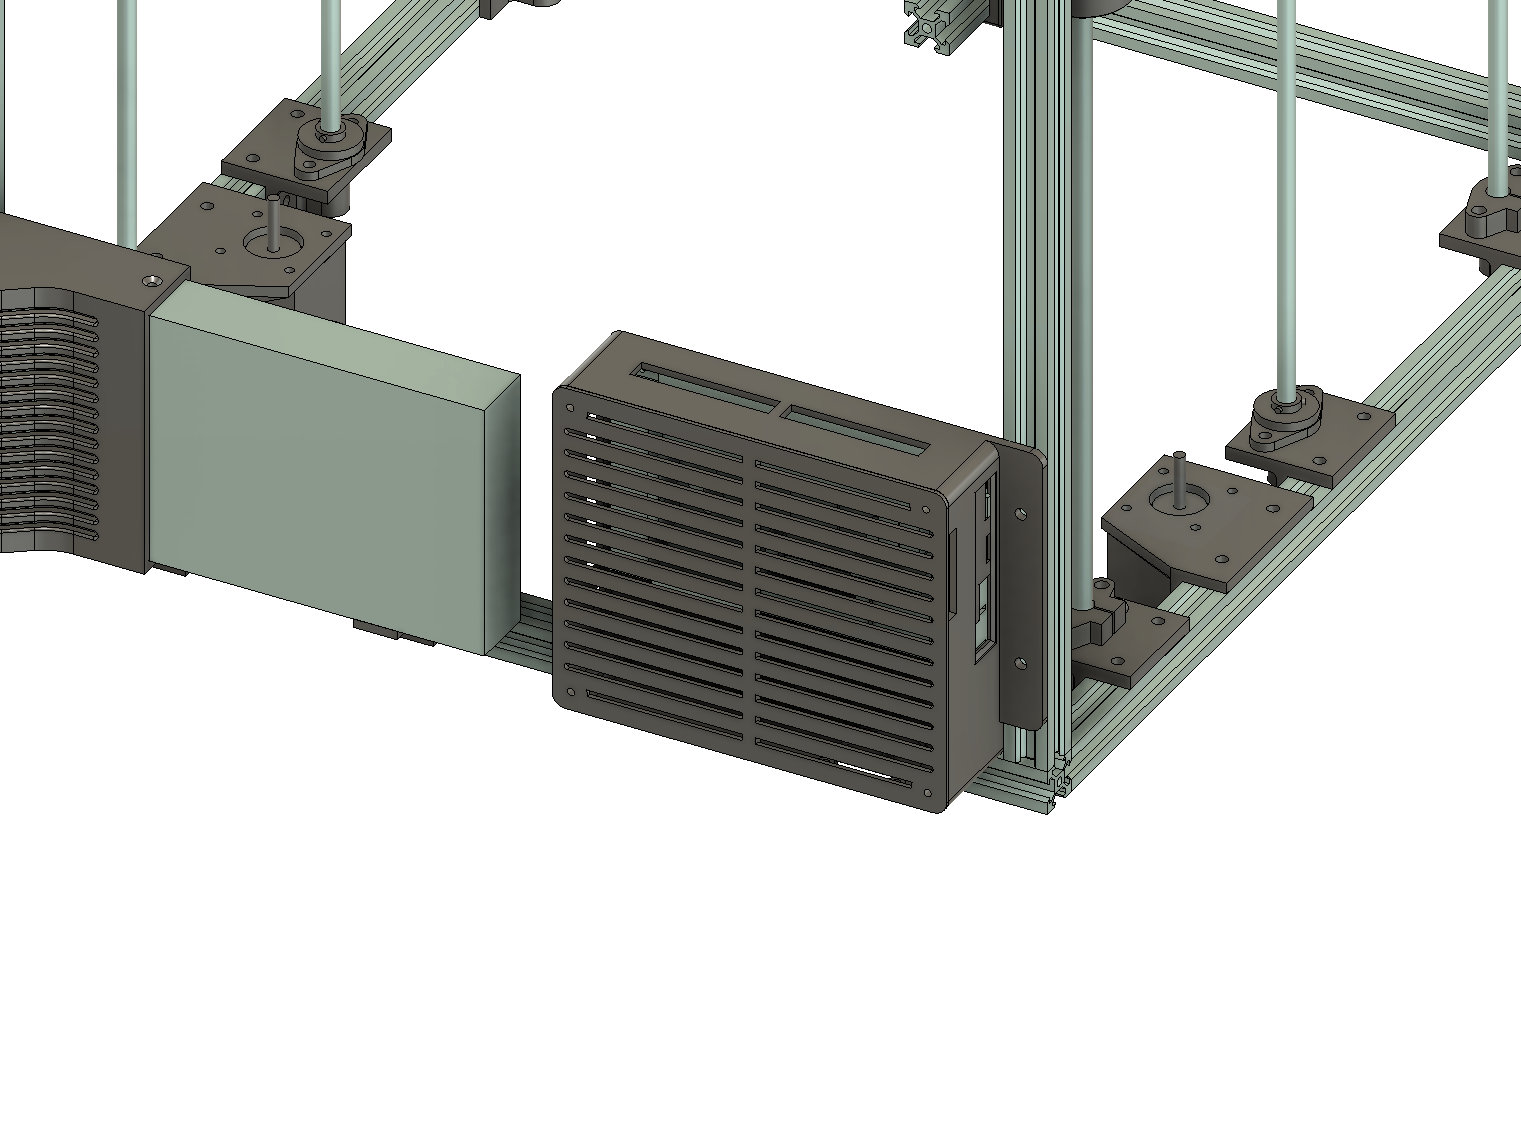
The controller board is the brains of your 3D printer - or in the case of klipper more like the nervous system of your printer. There are a lot of options for controller boards - from old cheap 8 bit arduinos to shiny new Wifi-enabled boards with a ton of outputs. I have created enclosures for the handful of boards that I have experience with - namely the MKS 1.4, as well as the BTT SKR 1.4 and the BTT Octopus. In my opinion, as of this writing the BTT Octopus offer exceptional value with plenty of horsepower, a ton of stepper slots, and some really great power distribution options at a very reasonable price.
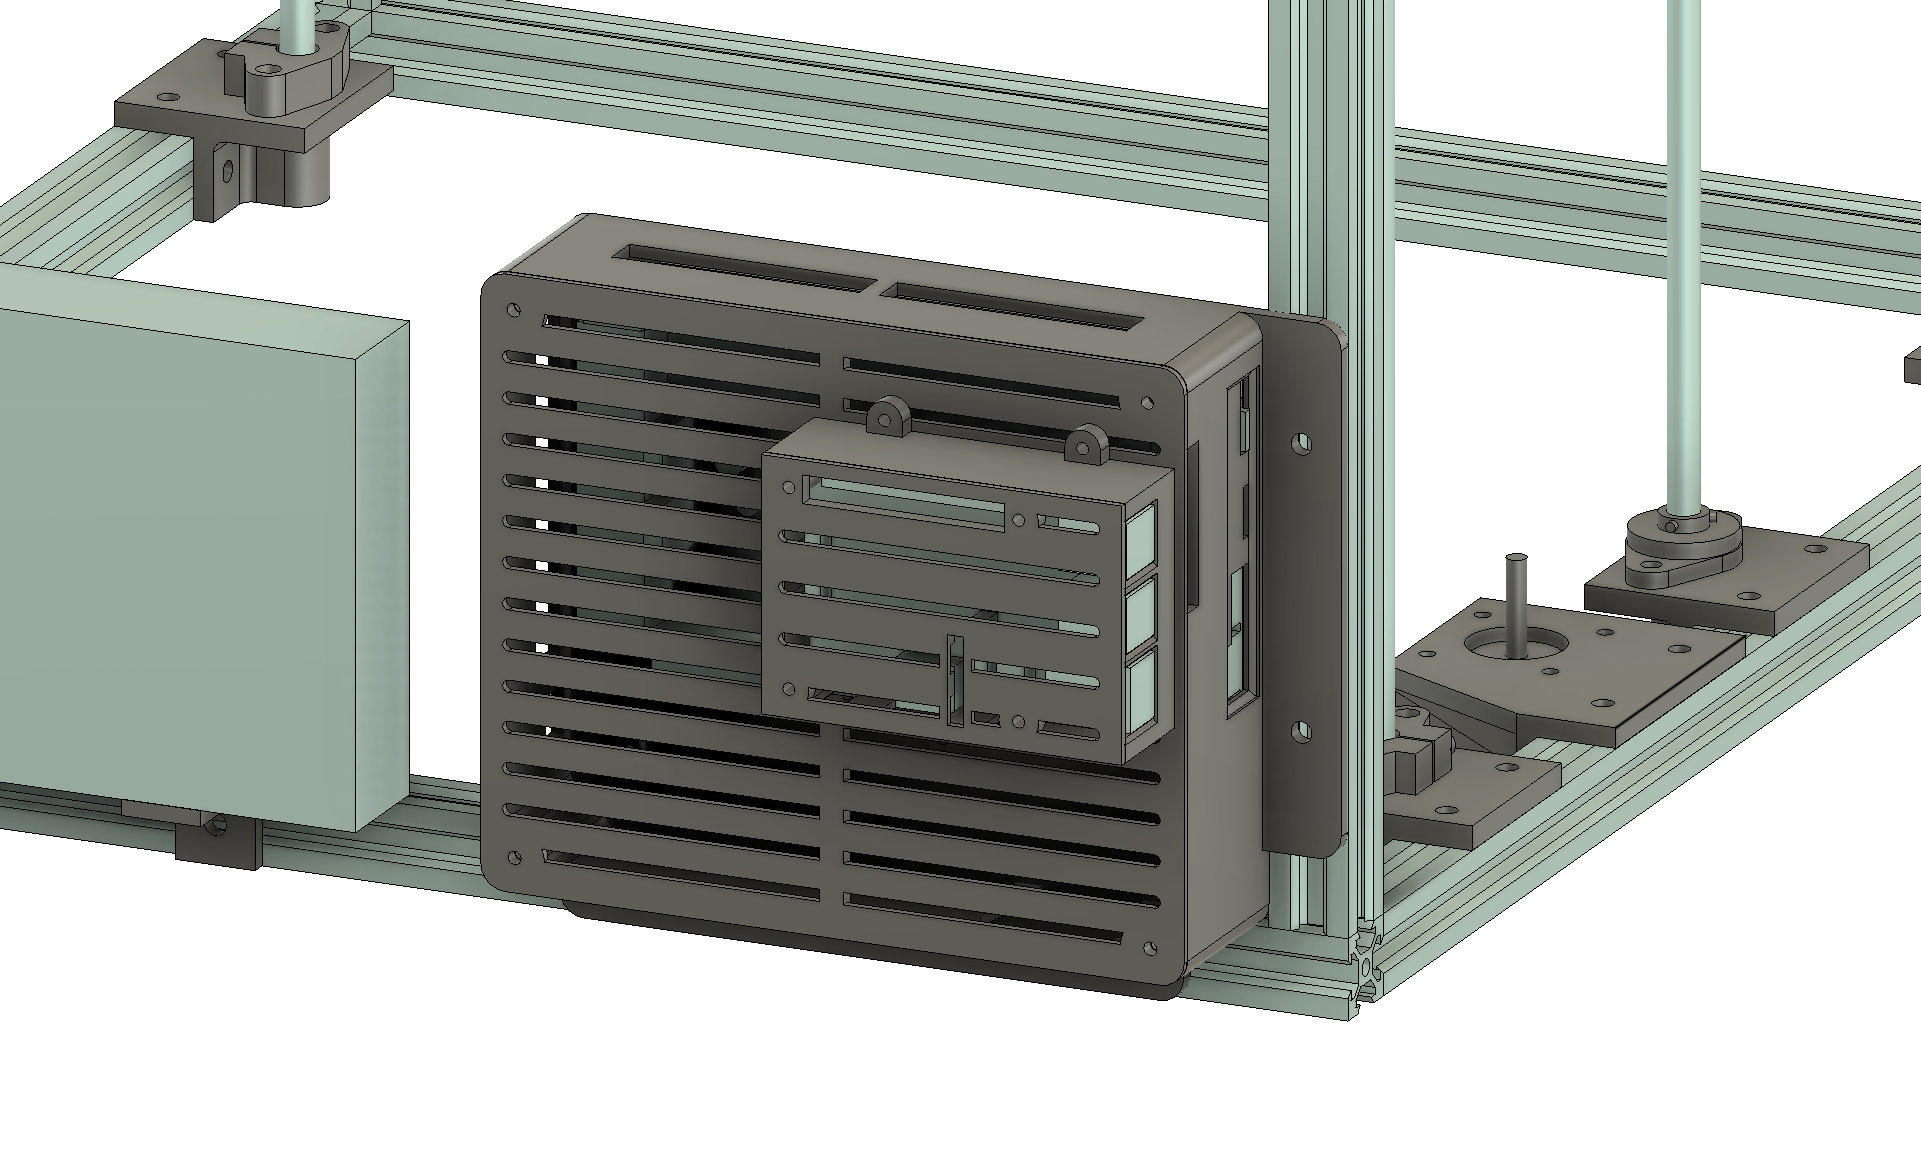
All of the enclosures included in the kit have some commonalities. All use a slotted lid to allow for airflow - but the slots are also spaced to be compatible with other accessories (like Pi mounts and fans). All mount to 2020 corners and most can be mounted on the underside of the extrusion to save some space. Most also support a powered fan and have mounts for buck converters if required in your setup.
Many people use Raspberry Pis for printer automation (eg: Octoprint, Fluidd/Mainsail). Due to supply chain issues it can be difficult to get your hands on a Pi however if you're lucky enough to have some lying around the system includes cases for RPi 3B and 4 as well as the Pi Zero 2w. Please note that the Pis mounting holes are for 2.5mm screws however they can be drilled or ground out to 3mm with no issues - and 3mm is a far more common fastener in the 3d printing world. All of my cases assume 3mm mounting holes.
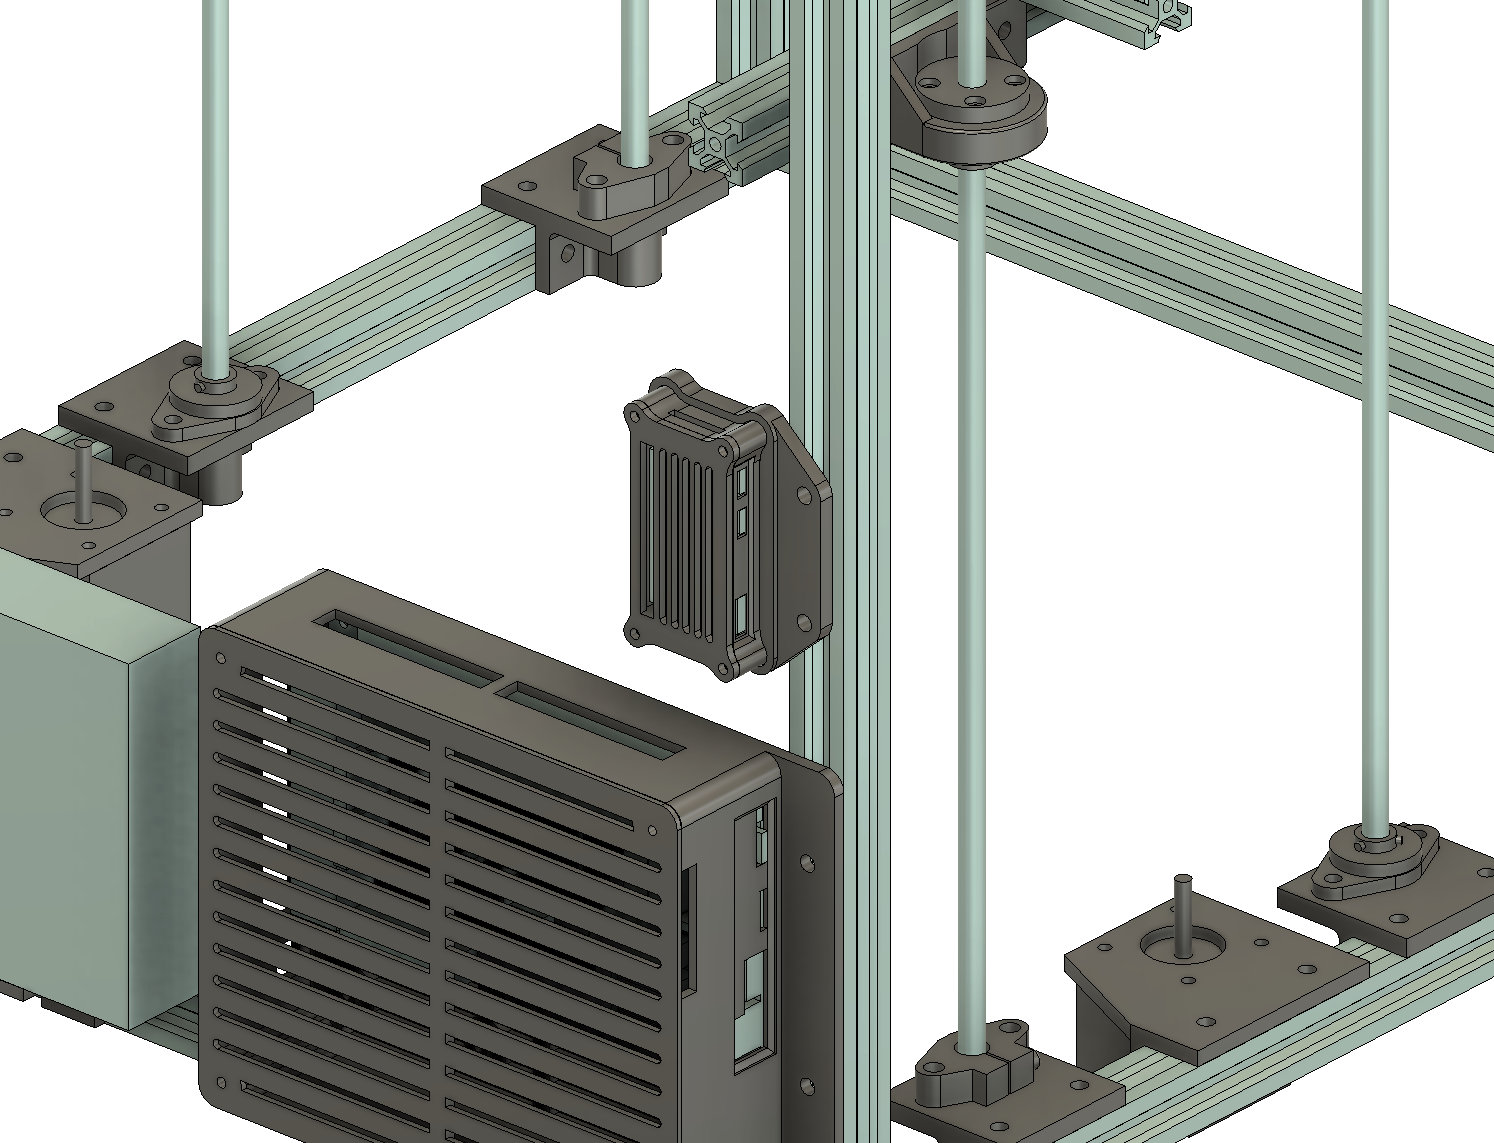
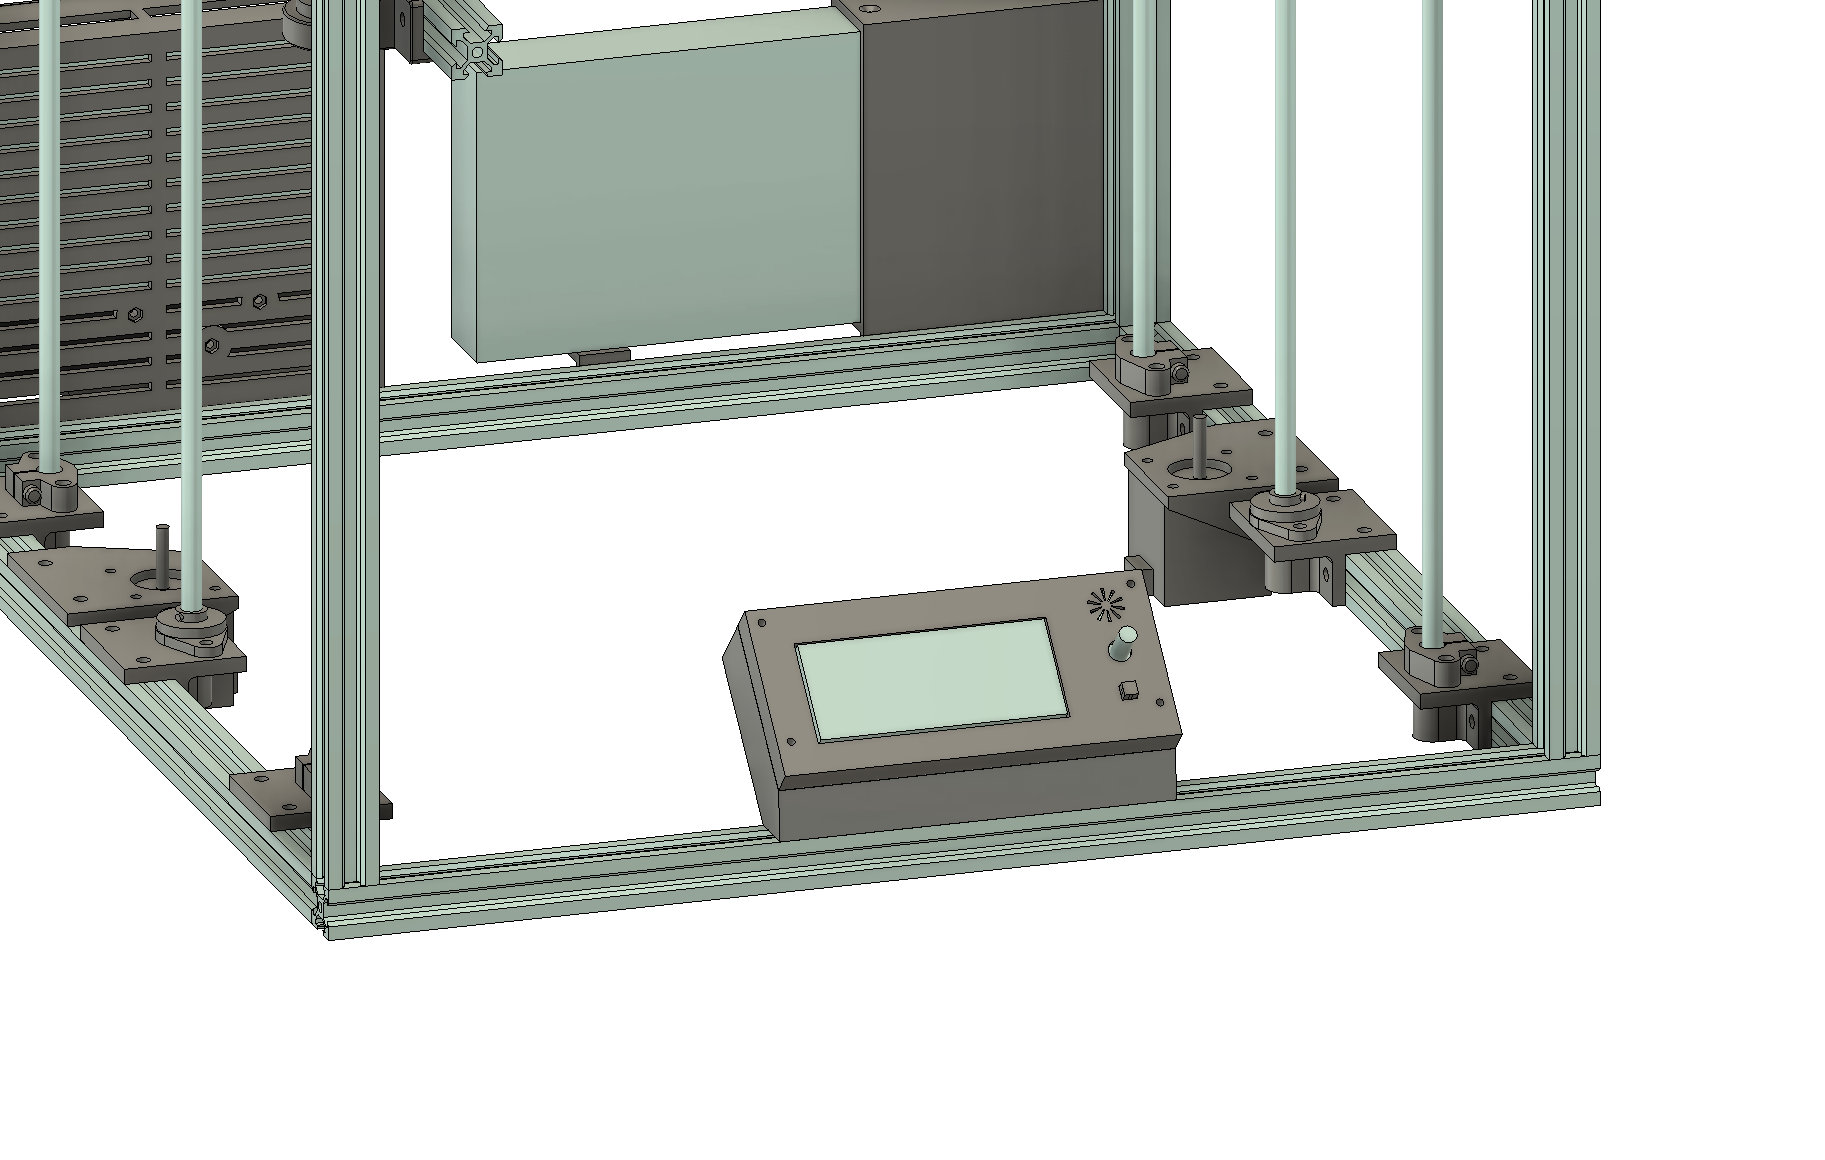
Unfortunately I have little use for LCDs as I control my printers remotely however I did have a couple of the old 'RepRap Budget' LCDs lying around and created an enclosure for them.
Depending on your chosen bed heater type you may need a mosfet to remove load from the control board's circutry. This case is compatible with the most common mosfet design.
I'm not going to in-depth on 3D printer wiring in this document however I will offer some tips and tricks: